
By Sam Smith
June 22nd 2023
So, you’ve found the perfect new place and it’s time to pack up and move out.
But wait!
What about that trusty bed frame that’s been helping you sleep all these years? Replacing it will cost too much and it could get damaged in the house move.
Don’t stress. Our years of protecting precious products can help you keep your bed frame safe and sound.
Join us as we guide you step-by-step through dismantling and packing your bed frame for its journey to your new home.
Ready to begin? Let’s dive in!
Equipment and Supplies Needed
- Allen wrenches or spanners: To dismantle the bed frame’s screws and bolts.
- Plastic bags or containers: To store and organise the hardware.
- Blankets or bubble wrap: For protecting the bed frame during transit.
- Tape or stretch wrap: To secure padding and keep the bed frame pieces together.
- Labels and markers: To clearly label the parts for easy reassembly.
Step by step guide
Step 1: Gather necessary tools and materials
Before you begin dismantling your bed frame, make sure you have all the required tools and packing materials at hand. This will save you time and ensure a smooth process.
Step 2: Remove bedding and mattress
Strip the bed of all bedding, including pillows, sheets, and blankets. Carefully lift the mattress off the bed frame and set it aside in a safe place. If you want to protect your mattress in transit, we’ve covered that in another guide.
Step 3: Clear the area around the bed frame.
Now that you’ve mentally prepared yourself for the task at hand, it’s time to clear the area around the bed frame. You’re about to become a dismantling ninja, so you’ll need some space to perform your swift moves and strategise the disassembly process.
First things first, remove any decorative items, such as fairy lights or dream catchers, that might be lurking around the frame. These items might seem harmless, but they can quickly turn into your worst nightmare when you’re in the heat of the dismantling battle.
Next, gather your trusty tools and keep them within arm’s reach. You won’t want to take a in the midst of dismantling and then have to crawl to grab a rogue screwdriver or Allen key.
Step 4: Dismantle the bed frame by unscrewing or unlocking the joints.
It’s time to get to work.
Start by unscrewing or unlocking the joints of your bed frame. It’s best to refer to your manufacturer instructions. Howerver, if you can’t find them, here are the basics:
4a. Detach the Headboard and Footboard
Begin by removing the screws or bolts connecting the headboard and footboard to the side rails. A little elbow grease might be needed, but be gentle to avoid damaging the frame.
Keep track of any nuts, bolts, or other small pieces that may be lurking around. For now, place these tiny components in a cup or small bowl. We’ll deal with these later.
4b. Disassemble the Side Rails
Now, it’s time to tackle the side rails. Slide them out from the headboard and footboard or unscrew any brackets holding them in place.
4c. Fold or Roll Your Slats
For wooden slats, gently remove them from the bed frame and stack them together. If you have metal or foldable slats, roll or fold them up neatly.
Pro tip: As you take apart your bed frame, keep a watchful eye on any peculiarities or unusual connections that might prove tricky during reassembly. Snap a few pictures of the dismantling process with your smartphone, so you’ll have a handy visual reference to look back on. Moving house is a stressful time and it’s easy to forget the simplest of things.
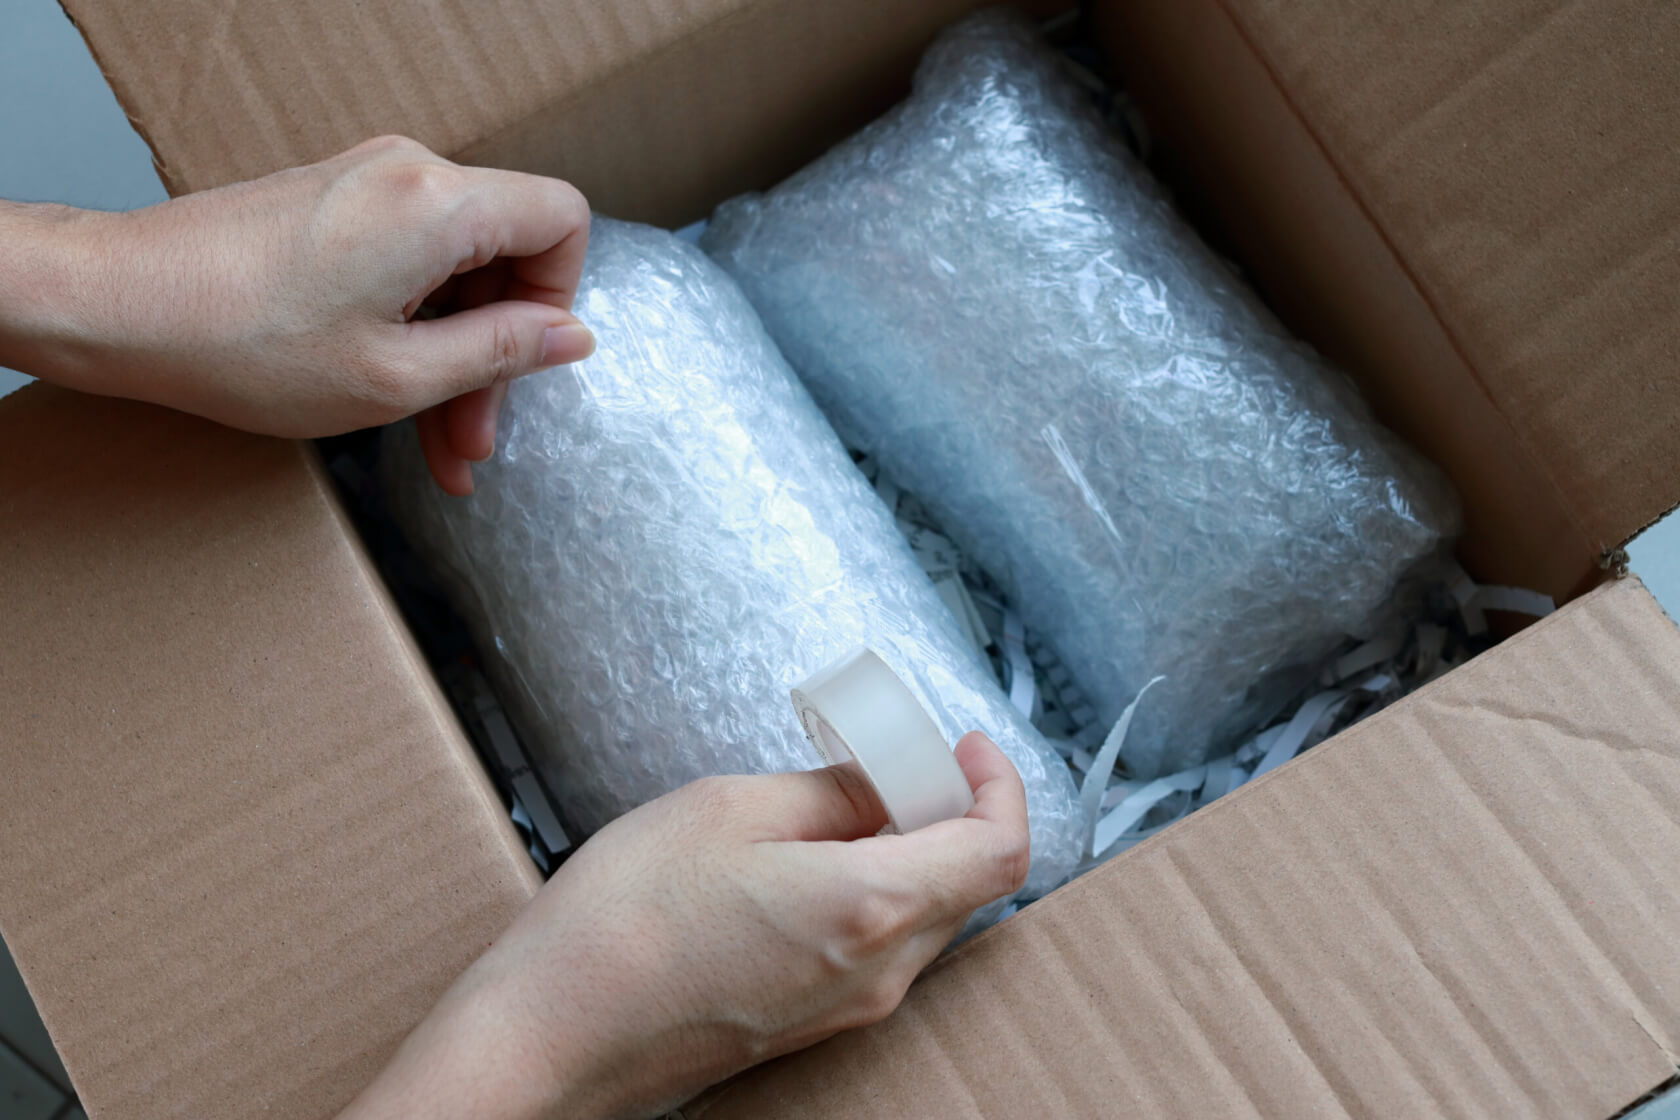
Step 5: Wrap the bed frame parts in protective material.
Now that you’ve got your bed frame parts sorted and labelled, it’s time to give them a cosy, protective outfit! Ensuring each part is wrapped securely will help prevent any damage during the move.
Grab some bubble wrap, moving blankets, or even old towels and start swaddling those bed frame parts like a pro. For added security, use cardboard corners or foam padding to safeguard those delicate edges and corners.
Cardboard tubing rolls are great for metal and wooden bed frames. You can slide each slat/pole into a tube to keep them safe. Don’t forget to cover the sharp edges and corners with extra padding, as they’re notorious for causing dings and scratches.
Pro tip: Secure the protective material with packing tape, but be careful not to apply tape directly onto the bed frame parts, as it can leave a sticky residue. Instead, tape the wrapping material to itself, creating a snug fit that’ll keep your bed frame safe and sound.
Step 6: Secure wrapped parts with tape or straps.
Now that your bed frame parts are all wrapped up, it’s time for the pièce de résistance – securing them! Grab some heavy-duty tape or sturdy straps, and let’s get to work.
For tape, choose a strong and durable one, like packing tape. Remember, you don’t want your bed frame parts playing peekaboo during the move! Wrap the tape around each part, ensuring it’s snug and secure.
Step 7: Place smaller parts in a labelled box.
Earlier on, we encouraged you to collect all the loose small parts into a bag or container. These little guys can get lost in the hustle and bustle of moving, so it’s crucial to keep them safe and sound. But don’t worry, we’ve got just the trick to ensure they stay in one place.
Find yourself a small or medium-sized box that can hold all your Bed Frame Parts container.
To avoid the dreaded “mystery box” situation, be sure to label this box with a clear description like “Bed Frame Parts“. You won’t be panicking and rushing around trying to fix them when you get to your new house.
For an added touch of genius, you can use individual sandwich bags or small containers to separate the different types of hardware within the box. This way, you’ll be able to reassemble your bed frame with ease, without having to rummage through a sea of screws and brackets.

Step 8: Load the bed frame parts onto the moving vehicle with care.
It’s time to carefully load your well-packed bed frame parts onto the moving vehicle. Keep in mind, the way you place these items can make all the difference in ensuring their safe arrival at your new home.
Begin by placing the larger and heavier pieces, such as the headboard and footboard, on the bottom layer of the moving vehicle. Make sure to use protective padding to protect them from any potential scratches or dings.
Next, stack the lighter parts, like rails and slats, on top of the heavier ones. Make sure they’re secure and won’t shift during transit.
Don’t forget to double-check that all fasteners, screws, and other small components are safely stored in their labelled bags or containers. Reassembling your bed will be a breeze once you reach your new abode!
FAQs
Can I transport a bed frame without dismantling it?
The short answer is yes, but there may be exceptions. Most bed frames are large and bulky, making them difficult to transport without dismantling, but some smaller or simple designs might not require it. Make sure to check the path from your bedroom to your front door. If the frame will fit all the way, you don’t have to dismantle it.
How long does it take to pack a bed frame?
A simple metal frame might take you a quick 20-30 minutes, while a more complex wooden or upholstered bed frame could take up to an hour or more.
Don’t forget to factor in the time it takes to gather your tools, disassemble the bed frame, and pack it securely.
With a little bit of planning and some witty banter with your moving partner, you’ll have that bed frame packed and ready to go in no time!
Can I hire professionals to pack my bed frame?
Hiring professionals to pack your bed frame is a splendid option, especially if you’re after a stress-free moving experience. It’ll be quick, efficient, and less hassle for you. And they’ll have the experience and tools needed to dismantle and pack your bed frame safely. However, It might be a bit more costly than doing it yourself, and you’ll need to coordinate with their schedule.
Can I reuse the packing materials for a bed frame?
Of course! Reusing packing materials for your bed frame is not only a smart move but also an eco-friendly one. In fact, it’s a brilliant way to save some pennies and help our dear planet Earth at the same time.
When it comes to reusing materials, creativity is your best friend. Bubble wrap, cardboard, and even old newspaper can all be employed to keep your bed frame safe and sound during the big move. Just make sure they’re still in good condition and capable of providing the protection your bed frame needs.
Remember, it’s not just about being thrifty – it’s also about keeping your bed frame snug as a bug in a rug (or, er, packing materials) while you transport it to its new home. So go ahead, embrace your inner eco-warrior and reuse those packing materials with pride!
Are there any safety precautions I should take when dismantling a bed frame?
Dismantling a bed frame might seem like a piece of cake, but let’s not underestimate the importance of precautionary measures.
Begin by clearing the area around your bed frame to avoid trips and slips. Make sure you have ample space to manoeuvre, especially when handling large parts of the frame. Keep your tools organised and within reach to prevent any accidents.
Additionally, it’s wise to wear protective gloves and eyewear – you never know when a rogue screw might decide to make an unexpected appearance! And, as always, work with a buddy for extra support and assistance.